
Create a list
The number of lists an AlternC account can create is limited by the server administrator.
Mailing-list setup
This step is the same, whatever list type you will create.
In the Virtual Desktop, in the main menu, click the link "Mailing Lists"
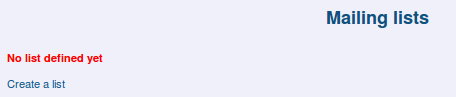
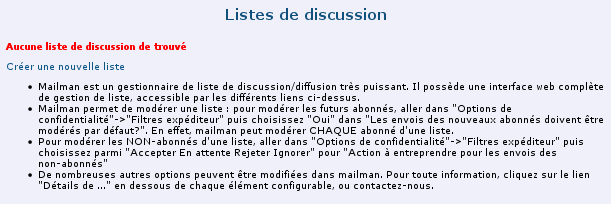
On this account, there is currently no mailing-lists.
You can see this in the right side of the Virtual Desktop.
To create a list, click the link "Create a new list".
Choose a name for your list. If you have more than one domain name in your AlternC account, choose in which domain this list will be installed (use the dropdown menu with the black arrow).
Warning : Mailman don’t allow you to create to lists with the same name in the same server.
If the name you choose has been already used, an error message will be displayed.
For example, if we whoos "tototo" :
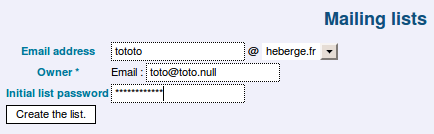
We may have this error message:

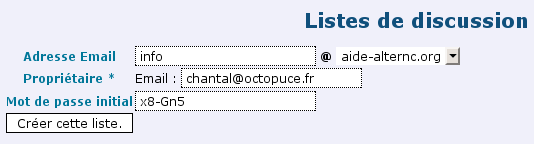
In the following, we will use the sample list below (this list has been created for this help, but has been deleted since):
- Name of the list: info
- Email address of the list: info@heberge.fr
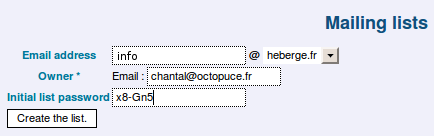
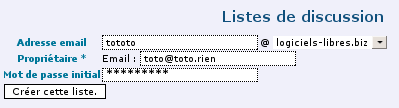
The list owner must have a valid email address. The password must be wisely chosen and you should remember it (it is not possible to get this password back since it is stored encrypted in the server)
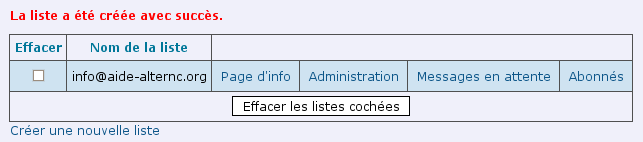
When you create a new list, the table below shows you that the list has been successfully crearted :
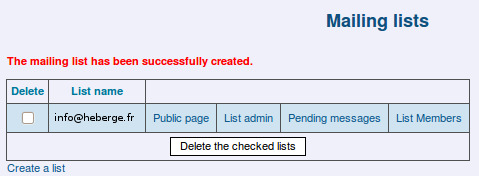
This AlternC Virtual Desktop page allows you to
- Delete a list (check the box and click the link "delete the checked lists". A confirmation dialog will appear.)
- To access the public page of the list (we will configure it later)
- To access the administrative zone of the list (this zone allows you to change the list’s configuration. This zone is password-protected)
- To view and manage pending messages (a moderator or list-administrator account is required)
- To show the subscriber list (in text form, one email per line.)
Each list must be configured properly depending on the usage of the list.
We will show you different cases in the next chapters.
Of couse, Mailman offers many possibilities. We will choose 3 classical cases: Mailing-list (newsletter), Private discussion list, public discussion list.
3 kinds of lists
We will show you 3 kinds of lists in this chapter, and their usual configuration.
Those are only suggestions, the aim is to show you basic Mailman administrative functions.
Those options can be fine tunned to fit your specific needs.
A Mailing-List, also called Newsletter is bound to send information and not to exchange information. It’s when one or more persons can send emails to the list, but when the list subscribers cannot write to the list.
How we configure such a list:
- This list is private, subscriptions and sending are closed.
- The list send emails to a group of known subscribers.
- The subscribers are not allowed to reply or send email to the list.
- The mailing-list manager (in our example it’s toto@demo2.eitic.net, but for your tests, you will have to choose an address you can read) is the only one who can post a mail to the list.
- No pending message should get kept on the list, and no header or footer should be added to the emails.
A private discussion list is aimed at exchanging information between the subscribers of the list.
How we configure such a list:
- This list is private, subscriptions and sending from foreigners are closed.
- The exchange of information in this list is restricted to a group of subscribed users only.
- The subscribers communicate using this list.
- The mailing-list manager (in our example it’s toto@demo2.eitic.net, but for your tests, you will have to choose an address you can read) validate the subscriptions and can moderate the subscribers.
- Every subscribed user can see the subscribers list, the list archives, can change its password and change the way he receives the messages...
A public discussion list is used to exchange information between subscribers of the list. The main difference with private discussion lists is that the list subscription and archives are open to everyone.
How we configure such a list:
- The list is open for subscription
- Subscribers are exchanging information through the list.
- The mailing-list manager (in our example it’s toto@demo2.eitic.net, but for your tests, you will have to choose an address you can read) knows who subscribe to the list. He can moderate some subscribers.
- Every subscriber can search the archives, know the list of subscribed users, change its own password and choose how he will receive the messages
- The archives are available for everyone to read.
We will start by showing you the common configuration for every kind of list:
Accessing the list administrative interface
You can access the list administrative interface using one of the two ways below:
- use the link "Administration" in the Virtual Desktop (you may use the middle-click to open this link in a new window or tab on your browser)
- Type the following URL in your browser address bar : https://myserver.octopuce.fr/cgi-bin/mailman/admin/ListName
here, ListName should be replaced by the name of your mailing list
and myserver by your server name.
Don’t forget the s in https if your mailman has been correctly configured to use encrypted administrative page.
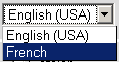
Your default language may be "English" or any other language you may don’t want ...
You may have to change your mailing-list language to another one (for example "Français"). We will show you how to do so in the administration window.
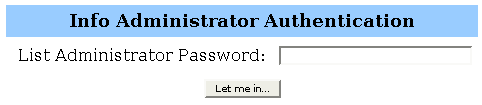
First, you have to authenticate yourself by writing the administrator password in the text field.
The password will not be shown in the text field, it will be replaced by ***
Click the link "Let me in ..." to connect to the administration interface.
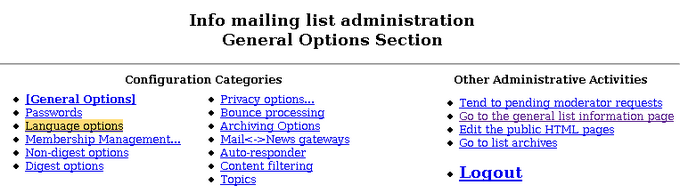
The window you will see is too big to be shown here, so we will only show you the main menu:
Language choice
The default language configuration for the list is made in two step
1 - Add your language to the languages menu
Click the link "Language options" in the right column of the main menu.
At this step, you cannot chooe anything else than the current default language.

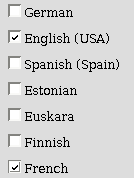
You have to add your preferred language for the list.
At this step, check the box "French" and validate your choice by clicking the following button at the bottom

2 - Configure the list to use French as default language
When you validate your change, you still have a default menu in english. however, you are now able to choose French in the dropdown menu that shows the default language for the list.
After you select your desired language in the dropdown list, don’t forget to validate by using the button
.
You will now see all the menus for this list in your preferred language.
This action will be the same whatever list type you will use.
In the following chapter, we will use English as default language for the lists, since this documentation is in English.
Portfolio


Author Published : 18/01/10 Updated : 24/01/10
Translations : English, français